Welcome to this comprehensive guide on tap repair. As a homeowner in Canberra, Australia, I understand the frustration that comes with a leaking or loose tap. Not only is it a nuisance, but it can also lead to water wastage and increased utility bills. In fact, according to the Australian Government’s Water Efficiency Labelling and Standards (WELS) scheme, a leaking tap can waste up to 10,000 litres of water a year! That’s enough to fill a small swimming pool.
But worry not, because I am here to help. In this article, I will guide you through the process of repairing a leaking or loose tap. Whether you’re a DIY enthusiast looking to tackle the problem yourself, or you’re considering hiring a professional tap repair plumber, this guide will provide you with all the necessary information.
From understanding the problem and identifying the necessary tap repair parts and tools, to step-by-step tap repair DIY instructions and tips, I’ve got you covered. I will also discuss when it’s best to call a professional, the potential tap repair cost, and the benefits of upgrading your tap for design purposes.
So, let’s dive in and stop that annoying drip once and for all!
Remember, every tap repair journey begins with understanding the problem. In the next section, I will explain the common causes of leaking and loose taps, so you can better understand what you’re dealing with. So, stay tuned!
Before we delve into the tap repair DIY, it’s crucial to understand why taps leak or become loose in the first place. Taps are relatively simple devices, but they can develop problems due to a variety of reasons. By understanding these common issues, you can better diagnose the problem and find the most effective solution.
One of the most common causes of a leaking tap is a worn-out washer. The washer is a small rubber disc that seals the tap when it’s turned off. Over time, this washer can wear out or become damaged, causing water to leak out of the tap. In fact, according to a study by the Australian Water Association, worn-out washers are responsible for approximately 60% of all tap leaks.
Another common issue is a loose tap handle, which can be caused by a worn-out O-ring or a loose screw. The O-ring is a small rubber ring that seals the space between the tap handle and the body of the tap, preventing water from leaking out. If this O-ring wears out or becomes damaged, the tap handle can become loose, causing the tap to leak.
Finally, a tap can also leak if the valve seat, the part of the tap that the washer seals against, becomes corroded or damaged. This can happen due to age, poor water quality, or lack of maintenance.
Now that we understand the common causes of tap leaks and loose taps, we can move on to the next section, where I will list the essential tap repair parts and tools you will need to fix these issues. So, stay tuned!
Now that we understand the common causes of tap leaks and loose taps, let’s move on to the essential tap repair parts and tools you will need to fix these issues. Having the right tools and parts at your disposal can make the repair process much easier and more efficient.
Here are the essential tap repair parts you will need:
And here are the essential tap repair tools you will need:
You can find these tap repair parts and tools at any hardware store near you. If you’re in Canberra, some popular options include Bunnings Warehouse, Home Timber & Hardware, and Mitre 10. You can also order these items online from websites like Amazon and eBay.
With these tap repair parts and tools at your disposal, you’re now ready to tackle the tap repair DIY. In the next section, I will provide a detailed, step-by-step guide on how to repair a leaking or loose tap. So, stay tuned!
Now that we have our tap repair parts and tools ready, let’s move on to the step-by-step tap repair DIY. Whether your tap is leaking or loose, these steps will guide you through the repair process. Remember, safety first – always turn off the water supply before starting any tap repair work.
Step 1: Turn Off the Water Supply
The first step in any tap repair process is to turn off the water supply. This can usually be done by turning the water shut-off valve, which is typically located under the sink. If you can’t find the shut-off valve, you may need to turn off the main water supply for your home.
Step 2: Remove the Tap Handle
Next, you’ll need to remove the tap handle. This can usually be done by unscrewing the screw on top of the handle using a screwdriver. Once the screw is removed, you should be able to lift the handle off the tap.
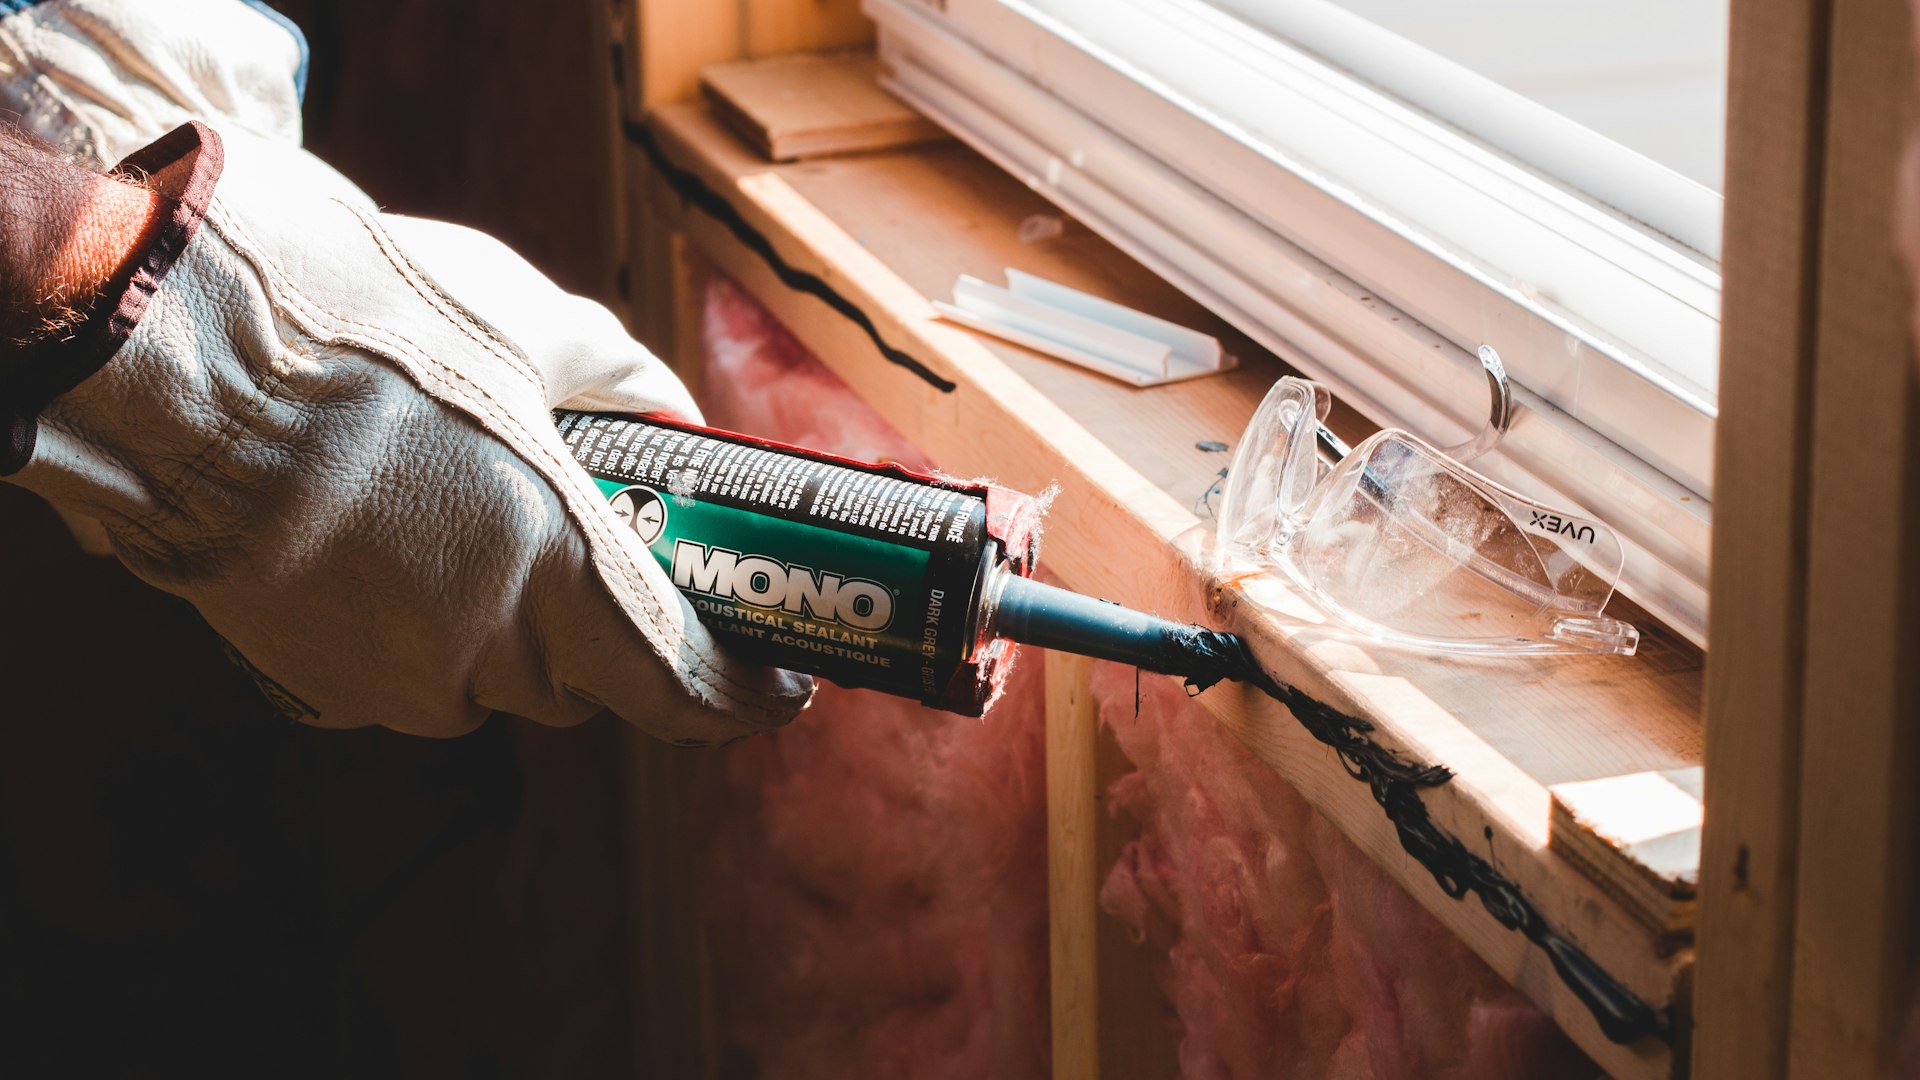
Step 3: Replace the Faulty Parts
Now, you can replace the faulty parts. If your tap is leaking, you’ll likely need to replace the washer. If your tap handle is loose, you may need to replace the O-ring. And if your tap is still leaking after replacing the washer and O-ring, you may need to replace the valve seat.
Step 4: Reassemble the Tap
Once the faulty parts have been replaced, you can reassemble the tap. Simply reverse the disassembly process – place the handle back on the tap, screw it back in place, and turn the water supply back on. If done correctly, your tap should now be leak-free and as good as new!
And there you have it – a detailed, step-by-step guide on how to repair a leaking or loose tap. Remember, if at any point you feel uncomfortable or unsure about the repair process, don’t hesitate to call a professional tap repair plumber. In the next section, I will share some useful tap repair tips and techniques to help you avoid common mistakes and ensure a successful repair. So, stay tuned!
Having walked you through the step-by-step tap repair process, I would now like to share some useful tap repair tips and techniques that I have learned from my experience as a tap repair specialist. These tips will help you avoid common mistakes and ensure a successful repair.
Tip 1: Always Turn Off the Water Supply
As I mentioned earlier, always turn off the water supply before starting any tap repair work. This will prevent water from gushing out of the tap and causing a mess when you remove the tap handle.
Tip 2: Use the Right Tools
Using the right tools is crucial for a successful tap repair. An adjustable wrench and a screwdriver are essential, but you may also need a pair of pliers or a tap reseating tool, depending on the nature of the problem.
Tip 3: Don’t Over-Tighten the Tap
When reassembling the tap, be careful not to over-tighten the tap handle or the packing nut. Over-tightening can damage the tap parts and lead to more leaks in the future.
Tip 4: Regularly Check for Leaks
Regularly checking for leaks can help you catch and fix problems early, before they lead to more serious issues like water damage. If you notice a leak, don’t ignore it – fix it as soon as possible.
These are just a few tap repair tips and techniques that can help you successfully repair a leaking or loose tap. Remember, if at any point you feel uncomfortable or unsure about the repair process, don’t hesitate to call a professional tap repair plumber. In the next section, I will discuss when it’s best to call a professional and how to find a reliable tap repair service in Canberra. So, stay tuned!
While DIY can be a cost-effective solution, there are times when it’s best to call a professional tap plumber. Tackling a tap repair job without the necessary skills or tools can lead to more serious problems down the line, including water damage and costly repairs.
Here are a few situations when you should consider calling a professional tap plumber:
Finding a reliable tap repair service in Canberra is easier than you might think. You can start by asking for recommendations from friends and family, or by searching online. Look for a tap repair plumber with good reviews and a solid reputation. Some popular options in Canberra include Canberra Plumbing & Drains, Woden Valley Plumbing & Gasfitting, and Blueline Plumbing & Gas.
Remember, while DIY can save you money in the short term, a professional tap repair plumber can save you time, effort, and potential headaches in the long term. In the next section, I will discuss the potential costs of tap repair and replacement, as well as the benefits of upgrading your tap for design purposes. So, stay tuned!
Finally, let’s discuss the potential costs of tap repair and replacement, as well as the benefits of upgrading your tap for design purposes. Understanding these costs can help you make an informed decision about whether to repair or replace your tap, and whether to do it yourself or hire a professional.
The cost of tap repair can vary widely, depending on the nature of the problem and whether you do it yourself or hire a professional. According to Hipages, a popular home improvement website in Australia, the average cost of tap repair ranges from $60 to $140. This includes the cost of parts and labour, but does not include the cost of any additional parts or services that may be required.
If your tap is old or damaged beyond repair, you may need to replace it. The cost of tap replacement can range from $100 to $500, depending on the type and quality of the new tap. Remember, while the upfront cost of replacement is higher than repair, a new tap can last for many years and may be more cost-effective in the long run.
Now, let’s talk about tap upgrade for design purposes. Upgrading your tap can not only improve the functionality of your sink, but also enhance the aesthetic appeal of your kitchen or bathroom. Modern taps come in a variety of styles and finishes, from sleek stainless steel to elegant brushed nickel, allowing you to choose a design that matches your home decor.
Finally, let’s touch on emergency tap repair. If your tap is leaking severely or causing water damage, you may need to call an emergency tap repair service. The cost of emergency tap repair can be higher than regular tap repair, due to the urgent nature of the service and the potential need for after-hours work. However, the cost of not addressing a severe leak can be much higher, including water damage repair costs and increased water bills.
And there you have it – a comprehensive guide on tap repair, from understanding the problem and identifying the necessary parts and tools, to step-by-step DIY instructions and tips, and finally, the potential costs and benefits of tap repair and replacement. I hope this guide has been helpful and has given you the confidence to tackle your tap repair project. Remember, if at any point you feel uncomfortable or unsure about the repair process, don’t hesitate to call a professional tap repair plumber. Good luck!